In our house, sometimes we don’t eat all the bananas. When they get fully ripe you have a few choices to including eating them, freezing them for later, or making banana bread.
Up until I created this recipe, I had never made banana bread or muffins, so I was pleasantly surprised when everyone I shared a muffin with asked for the recipe.
It’s pretty simply and you can choose to omit the cacao nibs and/or shaved coconut if these don’t suit you.
So, this is by far my favorite new recipe and after several different experimental versions, I settled on this one to share with you.
I give you fair warning, it is not for the faint of heart. It requires a lot of preparation and has multiple steps to include making your own Healthy Red Sauce and preparing your own Vegan Nut-Free Seed Ricotta Cheese. Luckily, I’ve shared both those recipes with step-by-step photos to help ease your preparation. Just click on the hyperlinks and you should be all set.
The good news is this lasagna is really delicious.
INGREDIENTS:
2 Tbsp of extra virgin olive oil
1 Tbsp of chopped garlic
1 cup of slice shiitake mushrooms
1 cup of spinach
1 cup of kale
1 cup of collard greens
1 cup of beet leaves
1 1/2 cup of Longeve plant-based protein crumbles
3/4 cup of hot water
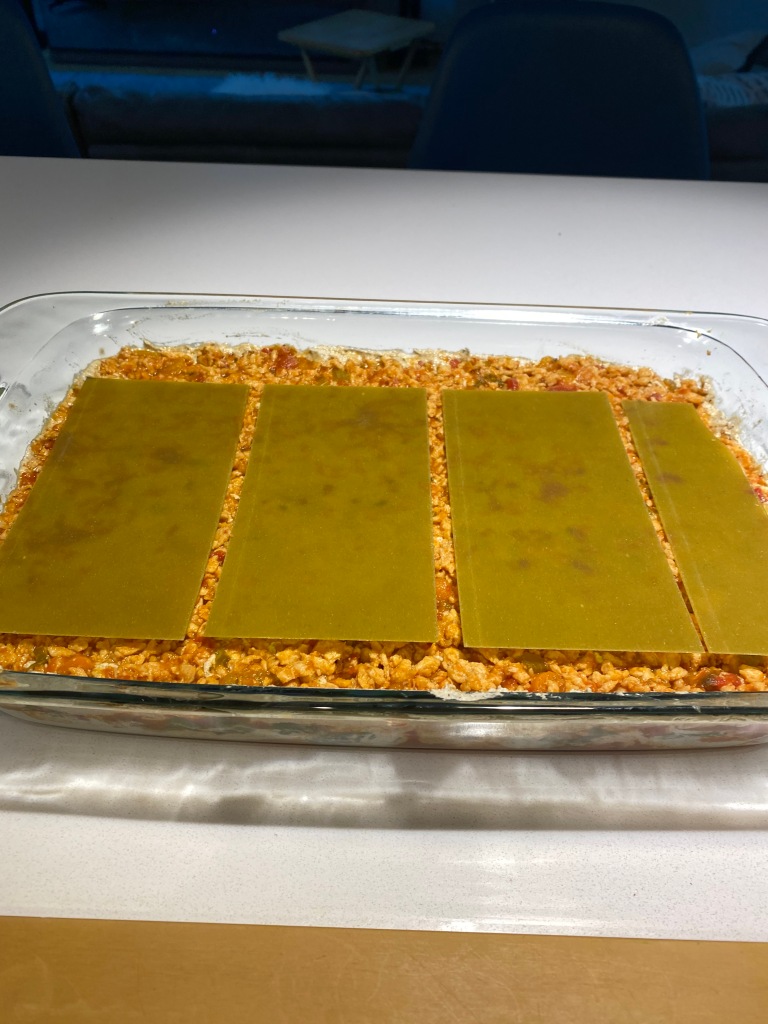
1 package of Organic Green Lentil Lasagne
1 Vegan Nut-Free Ricotta Cheese
1 Healthy Red Sauce
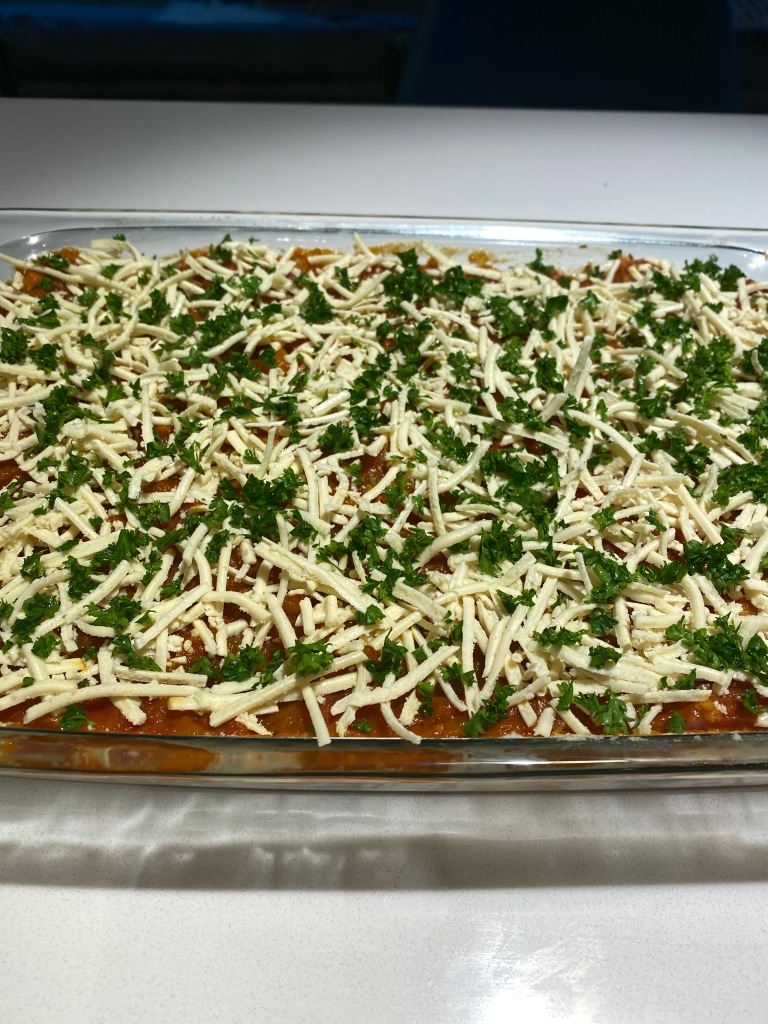
1 Package of Daiya Mozzarella Shreds
PREPARATION:
(1) Add olive oil to your saute pan and turn to medium heat.
(2) Add chopped garlic and sliced shiitake mushrooms
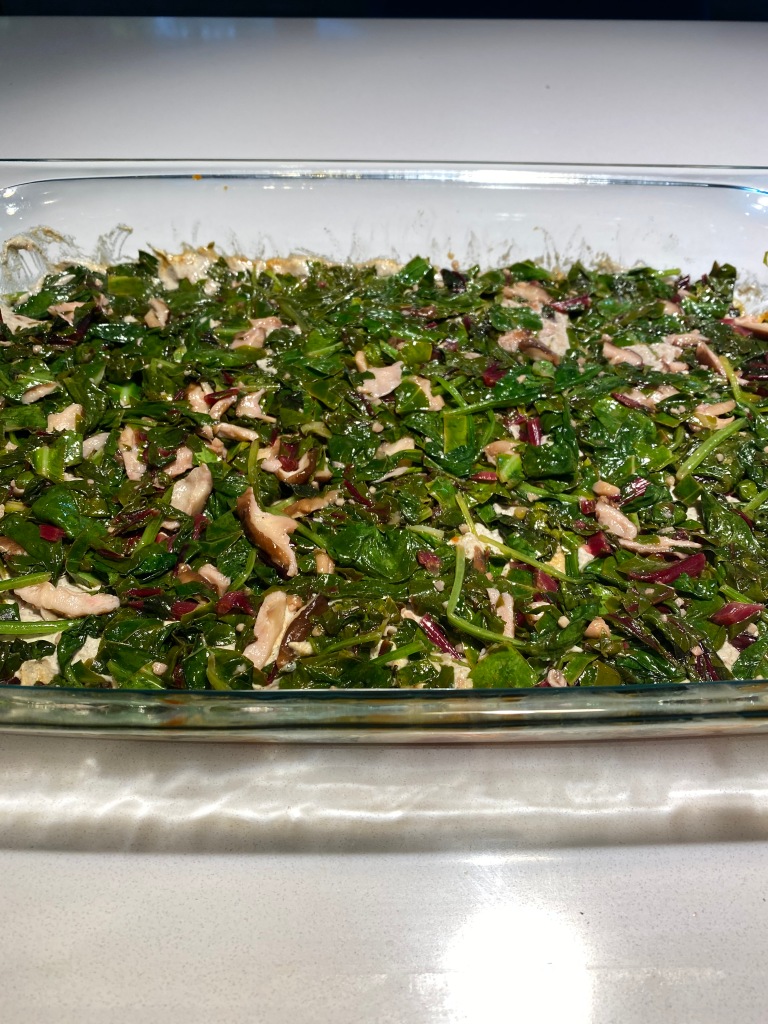
(3) Add your chopped kale, spinach, collard greens, and beet leaves. Continue to saute until soft. Remove from heat and set aside to use for the lasagna.
The hardest ingredient to replace in Vegan Lasagna is the ricotta – that delicious creamy layer that is critical to any good lasagna.
Since my Ayurvedic diet also requires me to avoid nuts, it is very difficult to find a store bought ricotta that works. Thus, I created my own. In order to learn about some different techniques, I suggest you check out this amazing post from SuperFoodEvolution.
For my recipe, I use a bunch of different seeds and I am very happy with the finished product. In fact, my wife actually likes this ricotta as a dip which see eats with carrots, celery and HU gluten-free, nut-free crackers.
INGREDIENTS:
1 Cup of Sunflower Seeds
1 Cup of Pumpkin Seeds
1/4 Cup of Hemp Seeds
1/4 Cup of Flax Seeds
1/4 Cup of Chia Seeds
1 Cup of Water, Hemp Milk or Coconut Milk
2 Tsp of Himalayan Salt
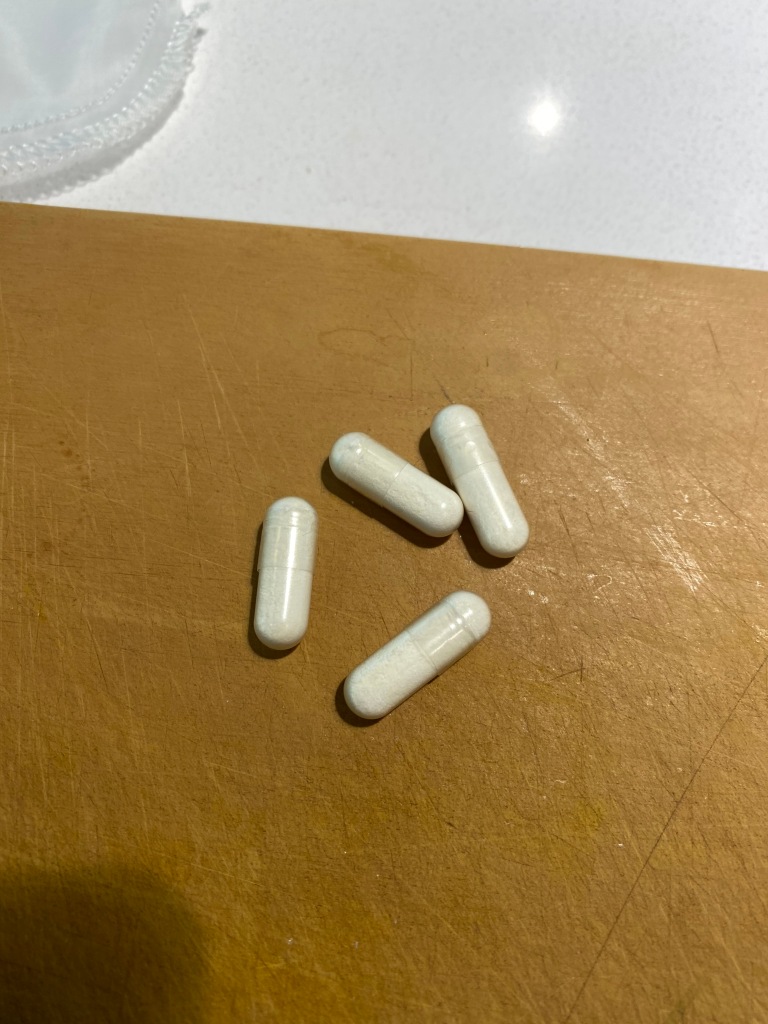
4 probiotic capsules
1/2 Cup of Fresh Sage
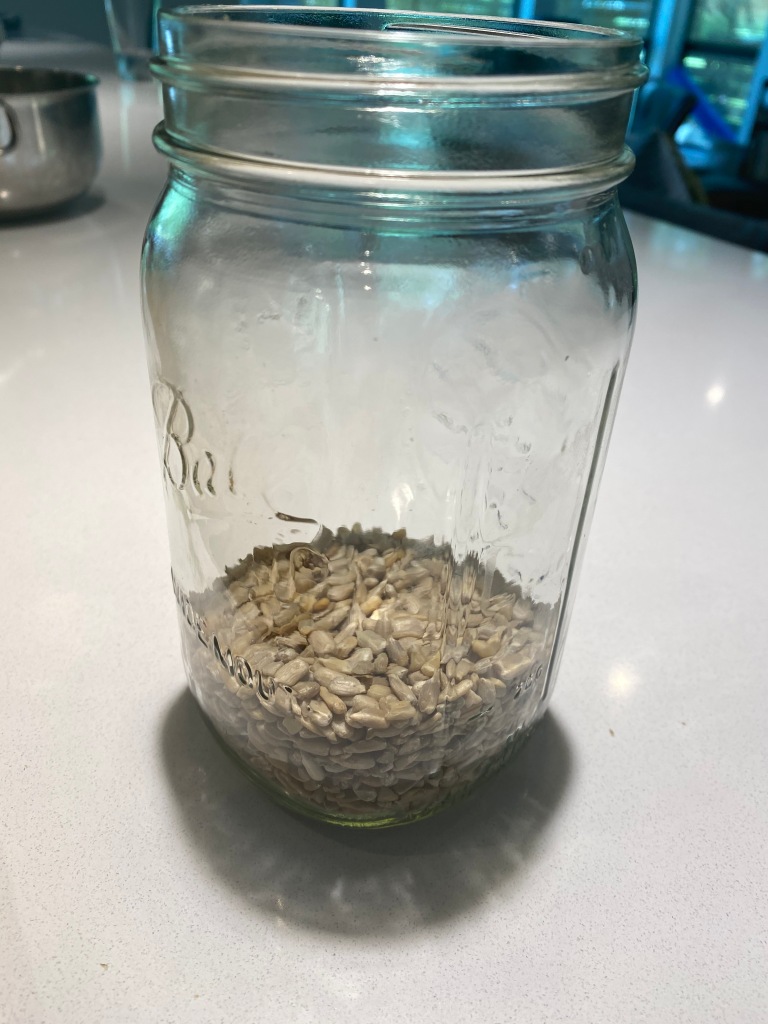
(1) Add the Sunflower Seeds to a large mason jar.
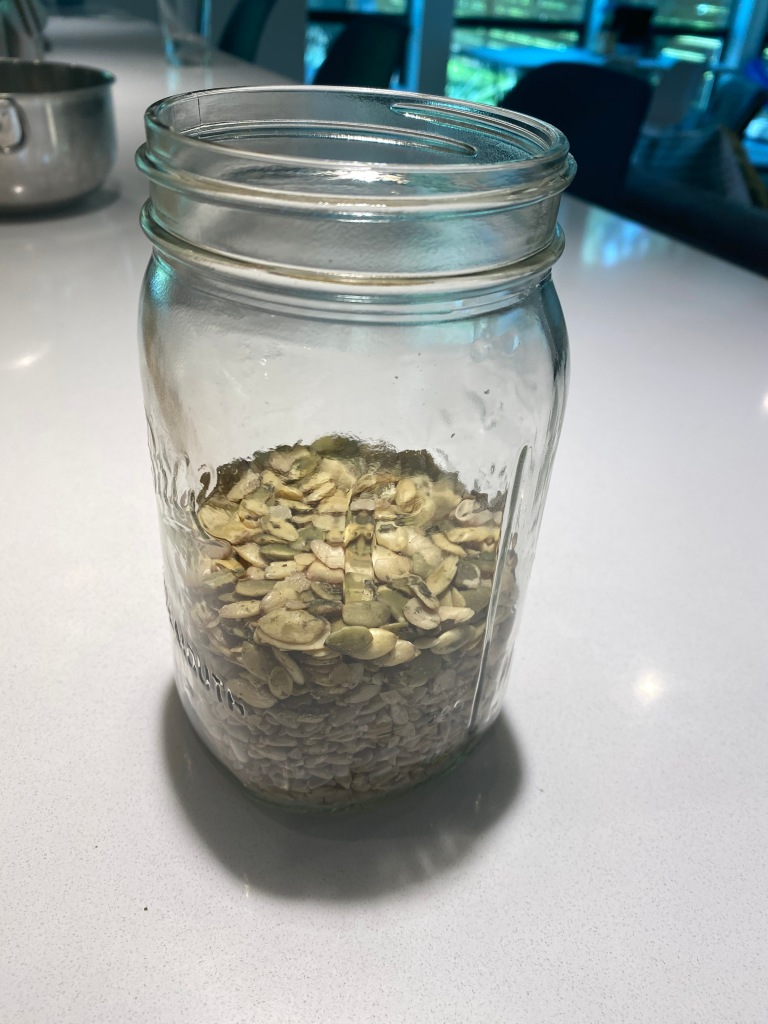
(2) Add the pumpkin seeds (I like to use Sprouted Pumpkin Seeds) to the mason jar.
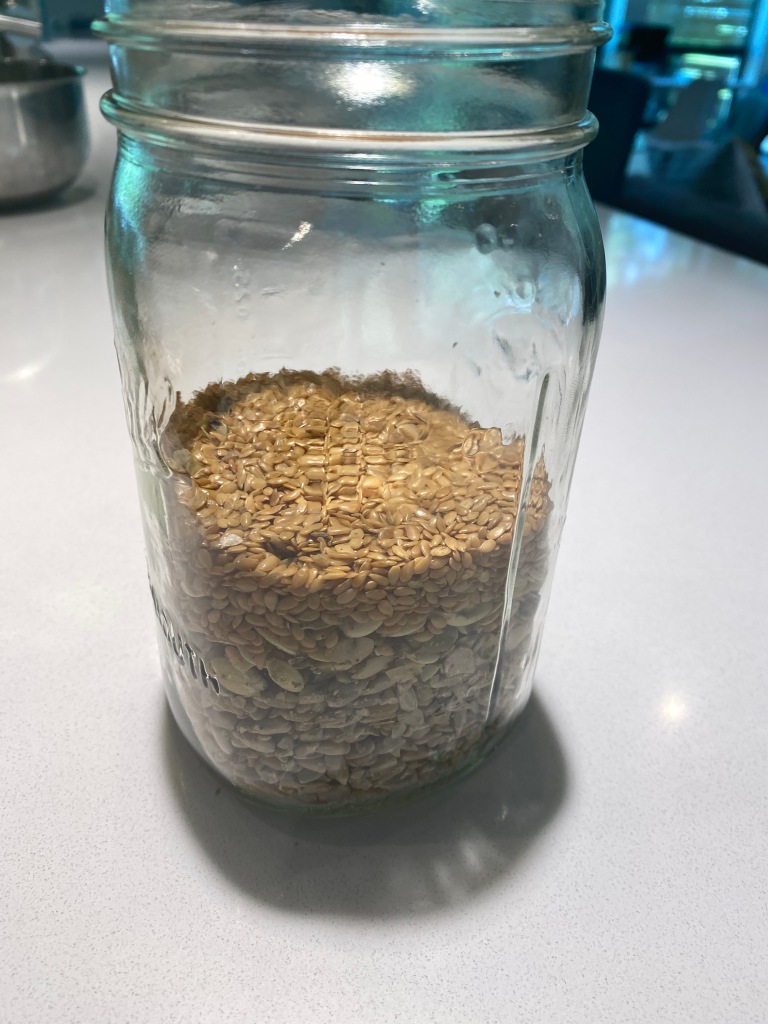
(3) Add the Flax Seeds to the mason jar.
(4) Add the Chia Seeds to the mason jar.
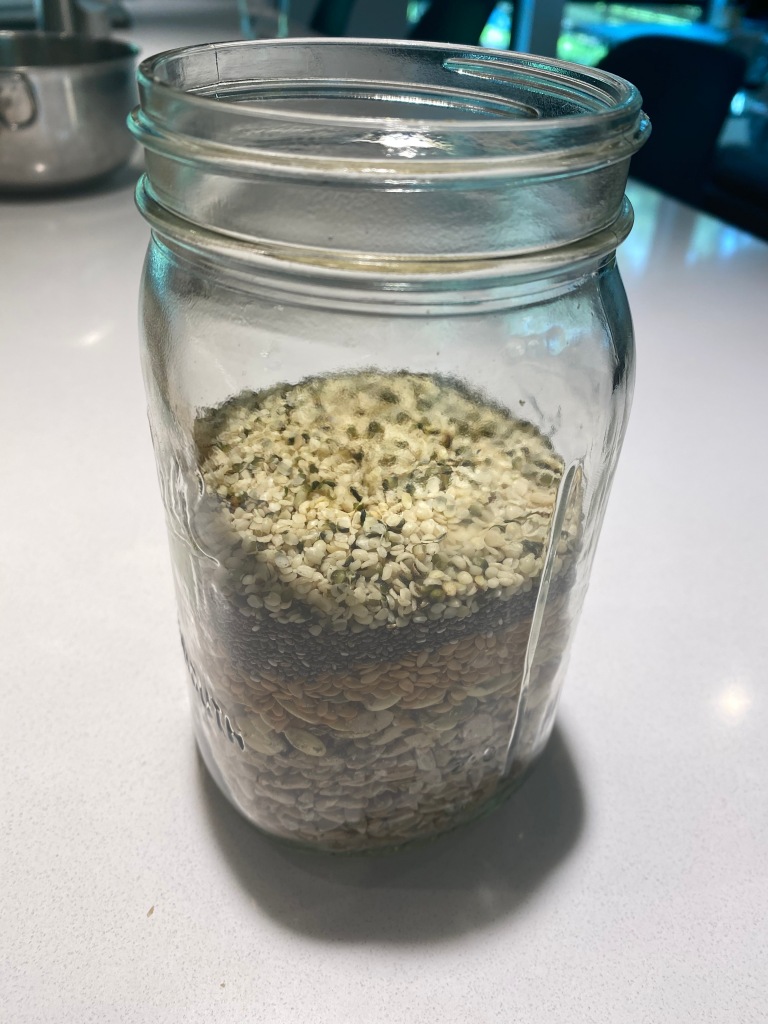
(5) Add the Hemp Seeds to the mason jar.
(5) Add your water, Hemp Milk or Coconut Milk to the mason jar.
(6) Put the lid on the mason jar and shake to get the liquid to mix throughout the seeds. Then place the jar in the refrigerator and let soak overnight.
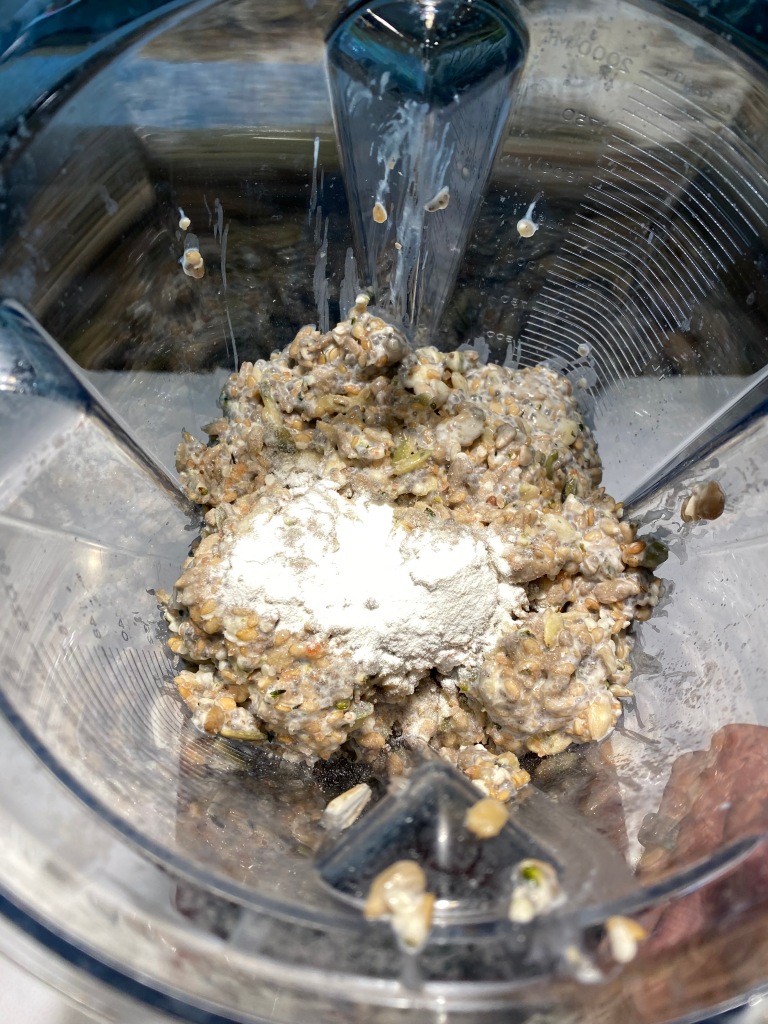
(7) Remove the seed mixture and add to your blender.
(8) Add your probiotic by opening the capsules and pouring into the mixture. Then add your himalayan salt.
(9) Add chopped Sage to the blender.
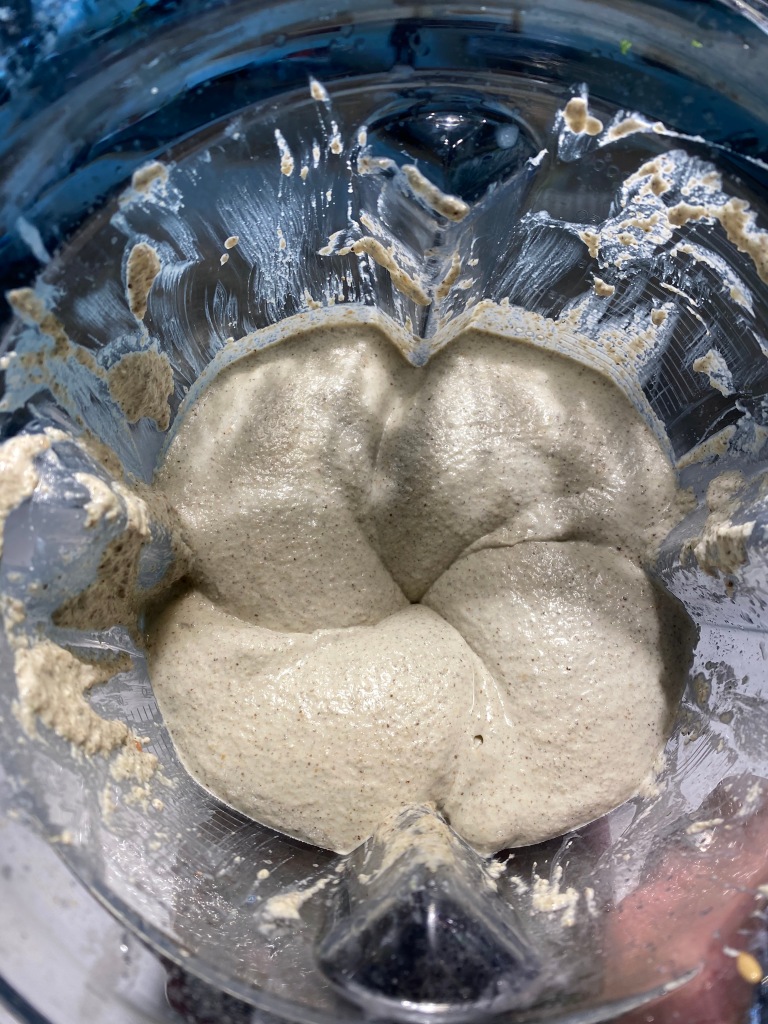
(10) Blend until smooth. Add additional water, hemp milk or coconut milk as needed to get a creamy consistency.
(11) Remove from the blender and place in a nut milk bag. Add a mason jar full with water to act as a weight to help squeeze out any excess liquid. Let rest on the counter for 4-6 hours.
(12) Remove from the nut bag and place in a bowl or tupperware. Now your Vegan Nut-Free Seed Ricotta Cheese is ready to use or eat. Store in the refrigerator.
I apologize for the delay in posting, but last week was a crazy work week.
I wanted to share my Vegan Lasagna recipe, but in order to complete the full recipe I wanted to share the recipes for the Healthy Red Sauce and the Vegan Nut-Free Seed Ricotta Cheese.
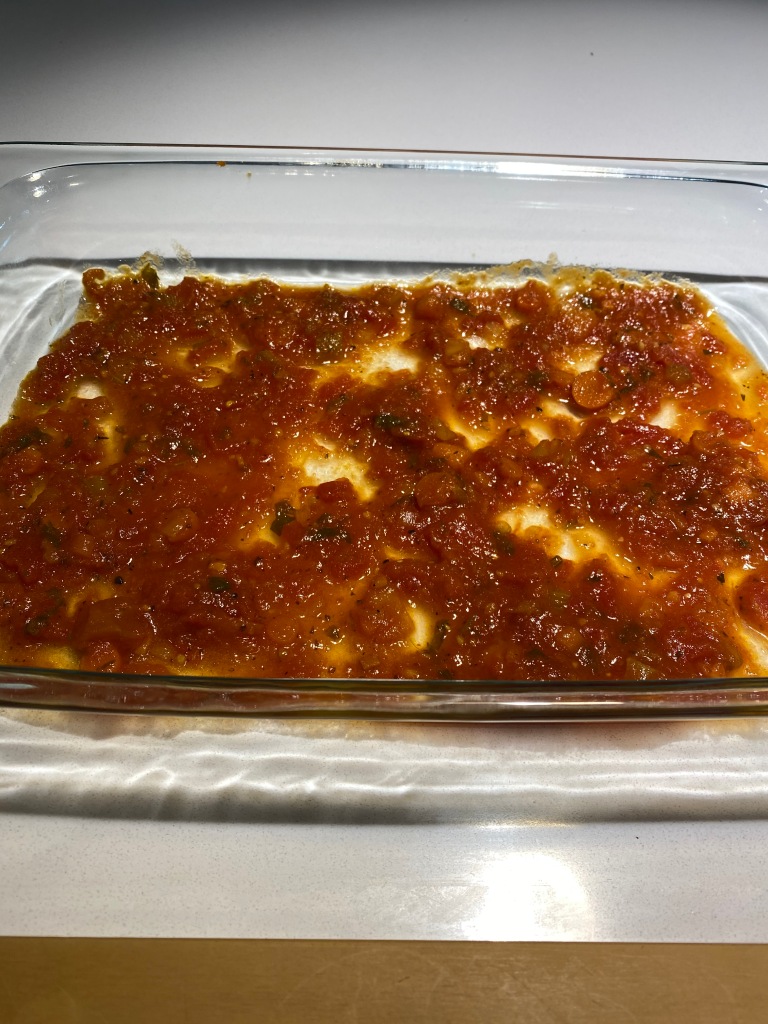
I’ll start with what I call my Healthy Red Sauce. Essentially, after years of cooking a traditional Italian Tomato Sauce, I created this recipe to (1) reduce the amount of tomatoes (trying to reduce the consumption of nightshades) and (2) to add a bunch of other ingredients that I couldn’t get my kids to eat any other way. So I essentially sneak them into the sauce.
INGREDIENTS:
1 Can of San Marzano Peeled Tomatoes
1 Cup of Carrot
1 Cup of Celery
1 Cup of Butternut Squash (blended)
3 Shallots
3 Scallions
3 Tbsp of Olive Oil
4 Cloves of Garlic
1″ of Fresh Ginger
1″ of Fresh Tumeric
1/2 Cup of Fresh Parsley (Italian Flat or Regular)
1/2 Cup of Fresh Oregano
1 Tsp of Apple Cider Vinegar
1 Tsp of Balsamic Vinegar
2-3 Cups of Water
Salt and Pepper to taste
Optional – 1 Tbsp of Dried Italian Herbs
(1) Add the Olive Oil to a large saucepan and put on medium heat
(2) Add finely diced garlic and cook for 1 minute
(3) Add the chopped ginger and tumeric and cook for another minute
(4) Add the diced shallot and cook for an additional minute
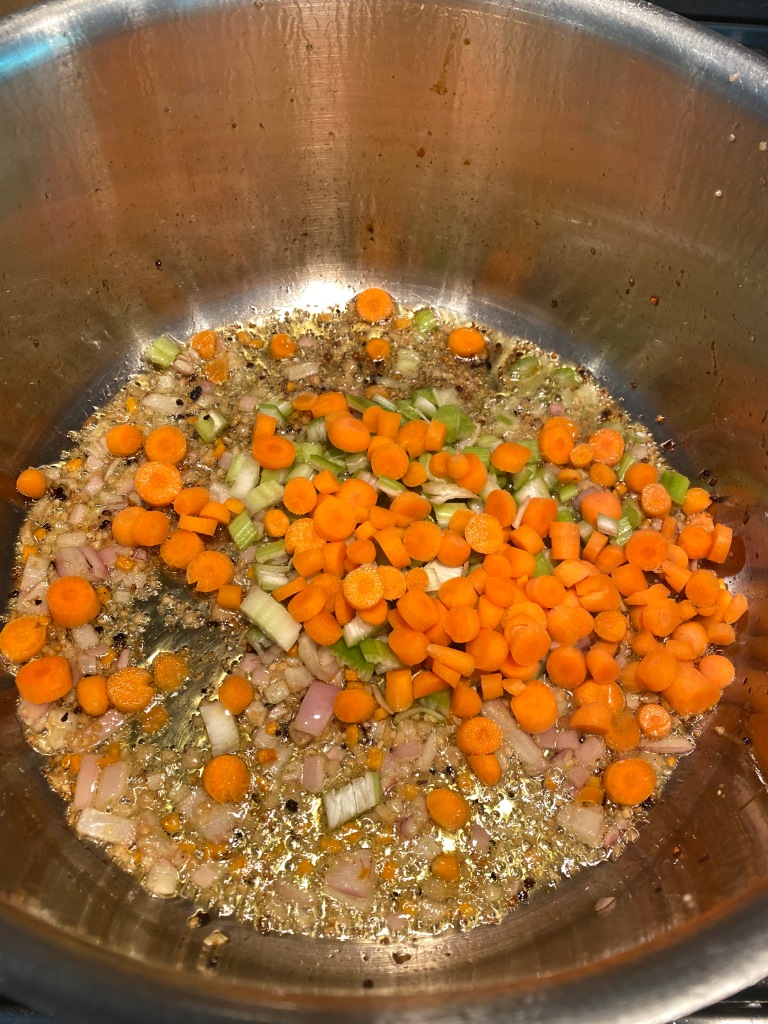
(5) Add the diced carrots, diced celery, chopped scallions, and apple cider vinegar. Cook for 3-5 minutes until soft
(6) Add 1 Cup of pureed Butternut Squash, stir and cook for another 2 minutes
(7) Add the Can of San Marzano tomatoes, smash and mix with other ingredients
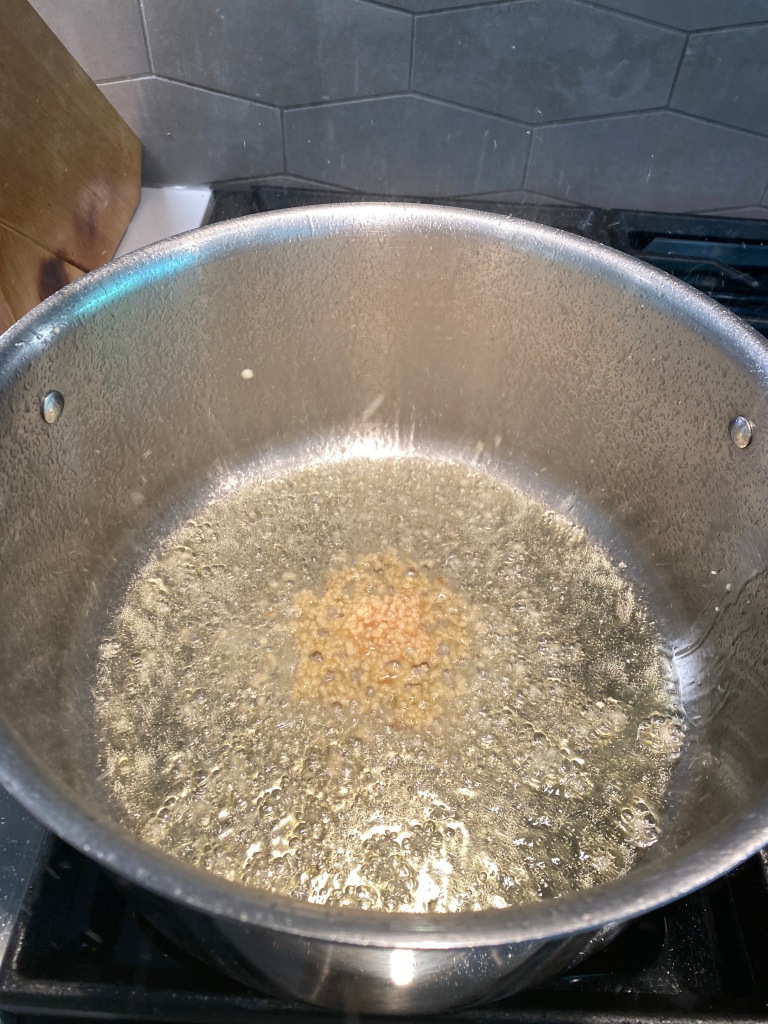
(8) Mix all the ingredients together and add your water. The less water the thicker your sauce. Raise the heat to high and bring to a boil. Then reduce heat to simmer, cover and continue to cook.
(9) Add your chopped parsley
(10) Add your chopped oregano, balsamic vinegar, and Italian herbs
(11) Let simmer for 3-6 hours and then your sauce is ready to use.
As Team Harrison continues to expand our horizons on vegetarian and vegan options, I am increasing my exploration into homemade options over store bought packaged food. In fact, I touched on this topic in my post Make Your Own Food. Most of the packaged food includes ingredients that violate my Ayurvedic diet or have lots of preservatives, sweeteners, and excess additives that I simply don’t want. Therefore, I know that by making my own food at home I can avoid these ingredients.
One of the key foods that both Dr. Nibodhi and Andrew Sterman both recommended is tempeh. Unfortunately, most store bought tempeh is made with soy, wheat, and/or grains which I am trying to avoid. Therefore, I decided to try and make my own homemade Adzuki Bean Tempeh.
After doing a lot of research, I found the perfect recipe from Meatless Makeover which specifically uses an Instapot.
I tried this recipe and it worked GREAT! I was really surprised at how good the tempeh tasted, and more importantly I was shocked that Angie and Elvis seemed to really enjoy the finished product.
A few things to note if you are going to try and make this at home is (1) don’t overcook the beans and (2) it took MUCH longer in my Instapot then the recipe suggested. In fact, I think it took 72 hours or longer on the “Less” Yogurt setting on my Instapot.
Ingredients:
2 cups of Adzuki Beans
4 tbsp of rice wine vinegar
1 packet of Tempeh starter
6 cups of water
Below are the steps and a few pictures to help you.
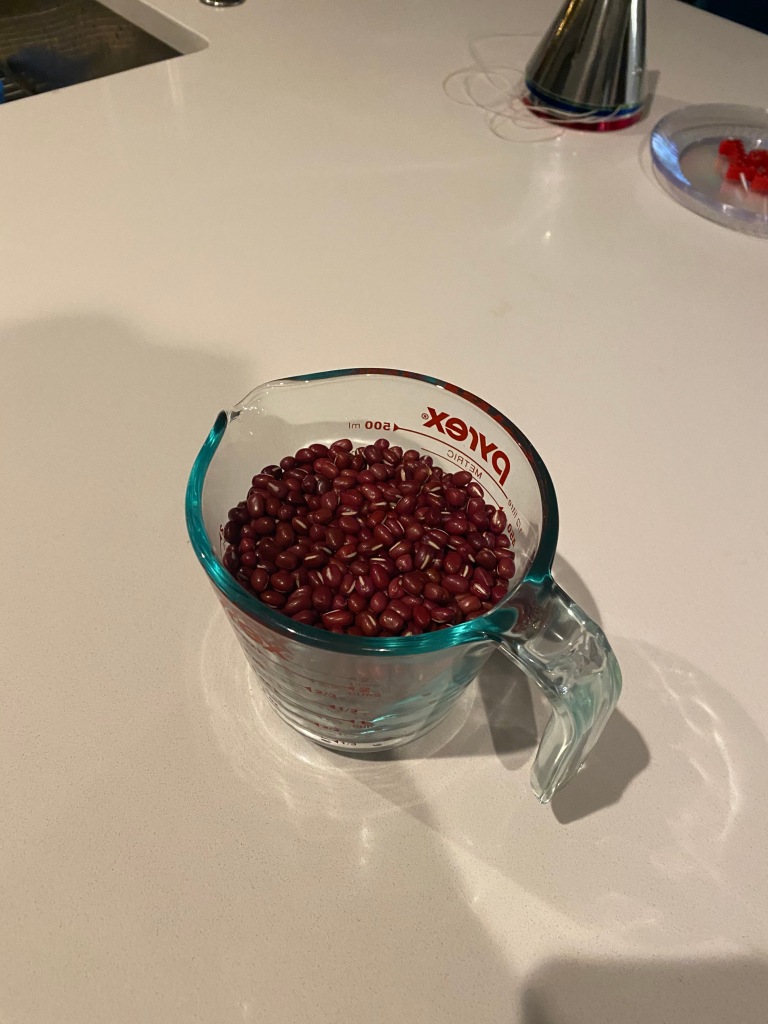
(1) Buy quality Organic Dry Adzuki Beans
(2) Measure 2 cups
(3) Soak the beans in water
(4) Add them to the pressure cooker in 6 cups of water and set to “Normal”
(5) Set to “High” for 7 minutes. When done let sit for another 10 minutes and then vent the steam and check that the beans are cooked.
(6) While the beans are cooking, prepare a ziplock bag by punching wholes 1″ apart through both sides. Also, get the metal rack to use later inside the pressure cooker.
(7) Strain and rinse the beans, then pat dry. Then transfer to a bowl, add the 4 teaspoons of rice wine vinegar and the tempeh starter pack.
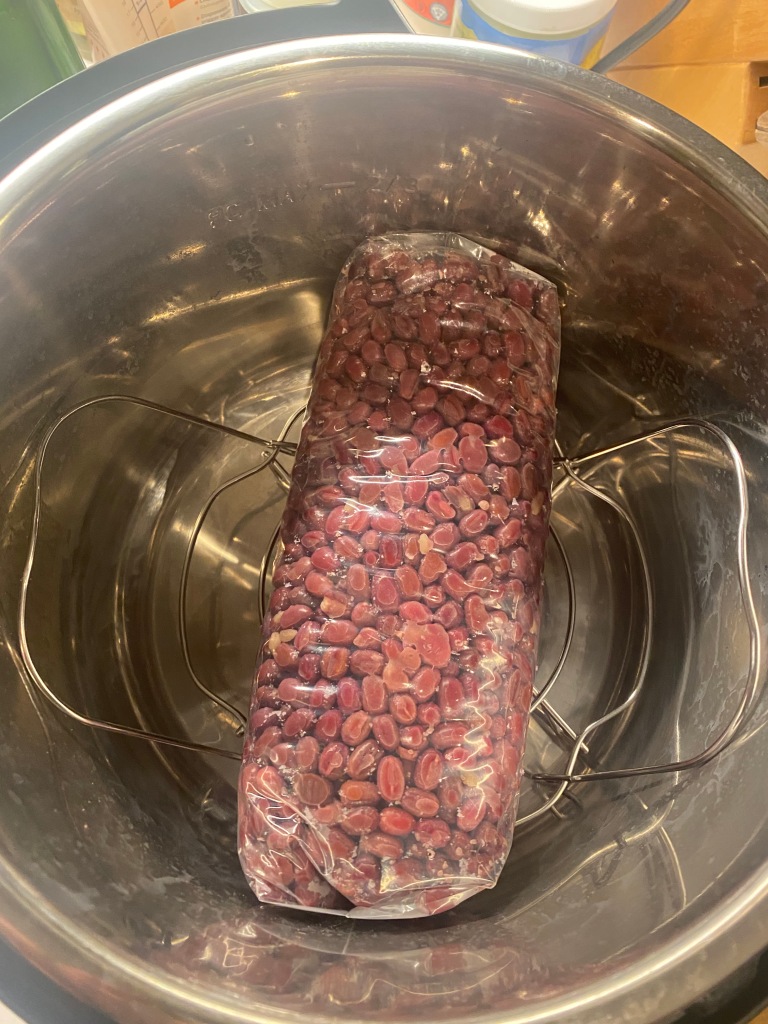
(8) Add the beans to the ziplock and roll the top down pulling the beans tight.
(9) Place the bean package on the metal rack in the Instapot with the ziploc seam face down.
(10) Set the pressure cooker to the “less” setting on the Yogurt mode. I originally did 24 hours, but on my second batch I set the timer for 72 hours.
(11) Check the tempeh after 24 hours and every 12 hours thereafter until you see the growth of the mold and crust.
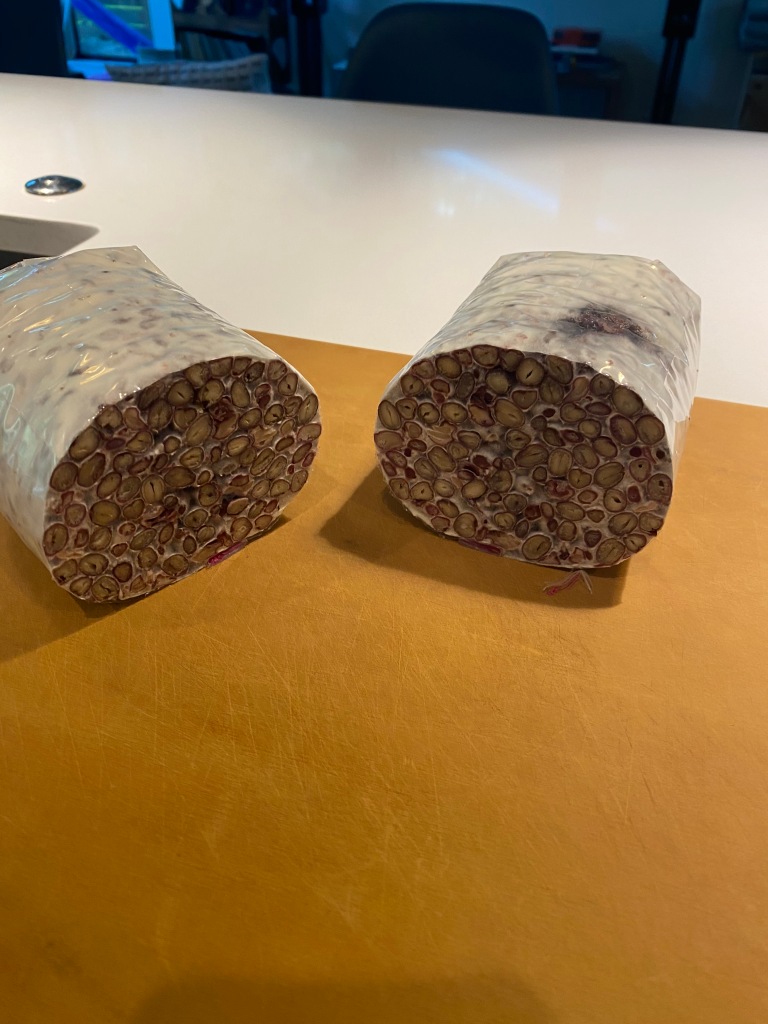
(12) Remove when ready and cut in half.
(13) You should be able to see the mold on the outside and the inside. This will last 10 days in a sealed container in the refrigerator or 2 months in the freezer.
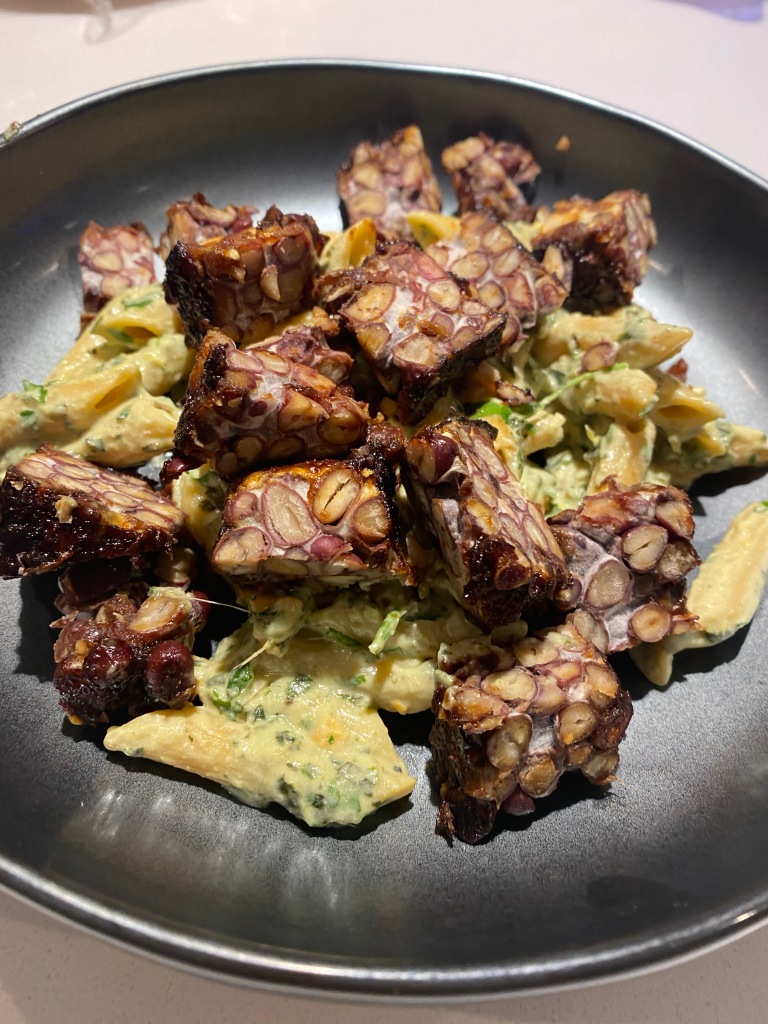
(14) Now slice into 1″ to 1 1/2″ pieces and saute in your favorite way – ghee, miso tamari, olive oil, etc. and then serve over your favorite dish. Below is an example of Adzuki Bean Tempeh over Vegan Pesto Chickpea Pasta.
(15) Here is the same sauteed miso glazed tempeh over cauliflower fried rice. Garnish with mung bean sprouts, scallions, and sesame seeds. If you are making Lettuce Wraps, you can actually use the same dipping sauce and toppings over your tempeh.
I hope you enjoy and remember be kind to yourself and just do the work today!
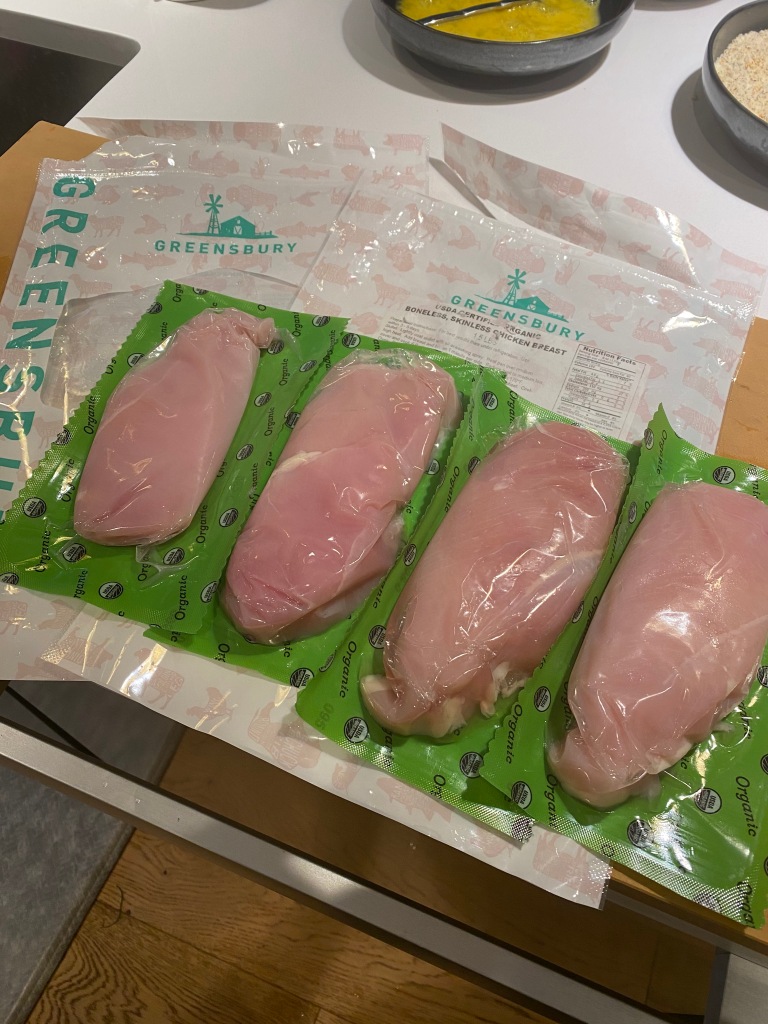
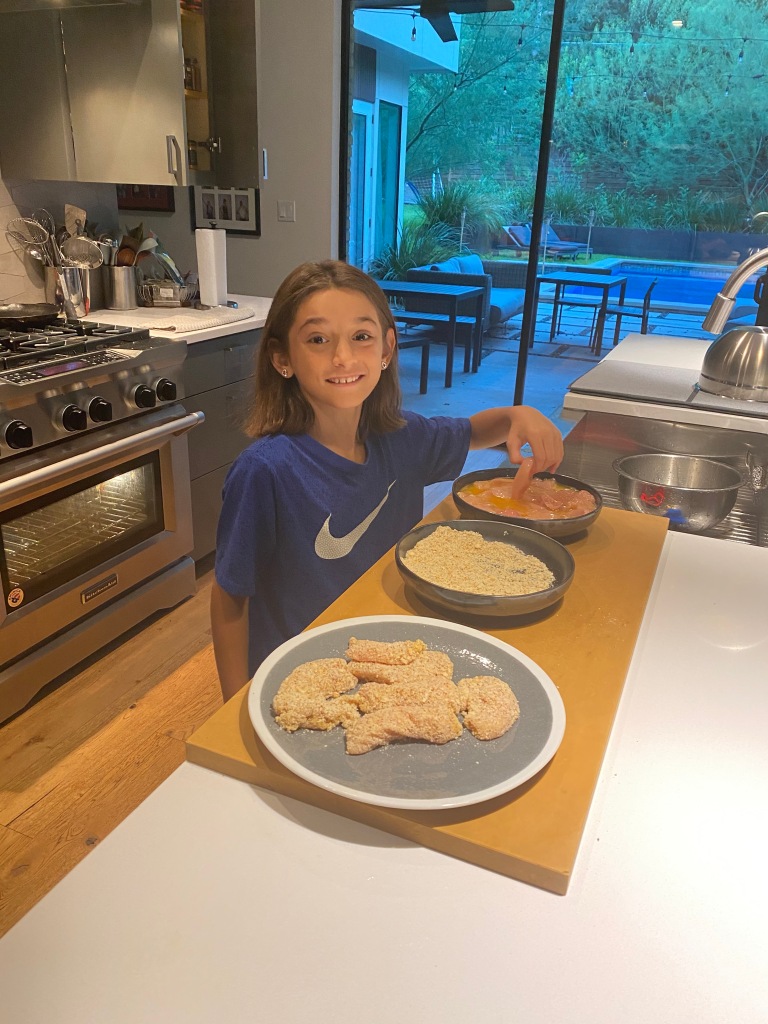
So, it’s a busy Monday but I wanted to share with you the Team Harrison go to meal for the kids – Greensbury Organic Free Range Chicken Tenders. These can be gluten and dairy free based on which bread crumbs you use and whether or not you substitute real eggs with a plant based substitute as a binding agent. Just remember, cooking should be fun and you are definitely going to mess up some meals during your journey. In fact, last night we made another batch of Vegan Lasagna and while it was delicious for some reason the top layer of Green Lentil Lasagna curled and got super crunchy. I was super annoyed, but luckily Angie loves it. Anyway, here is our recipe.
1 cup of Grapeseed Oil (you can also use Olive Oil)
1 cup of Almond Flour (you can substitute regular flour, sunflour, flax, amaranth, millet, etc)
Salt and Pepper to Taste
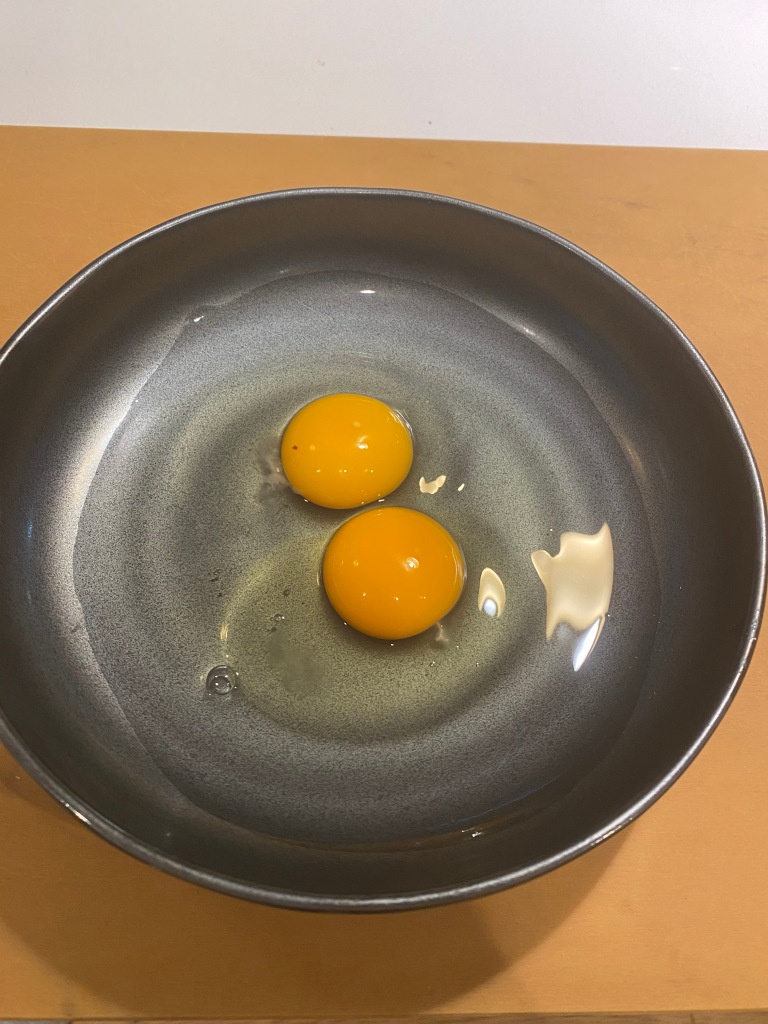
(1) Break the eggs into a bowl
(2) Whisk the eggs, add a pinch of salt
(3) Mix the breadcrumbs and flour together
(4) Open and clean the chicken breasts
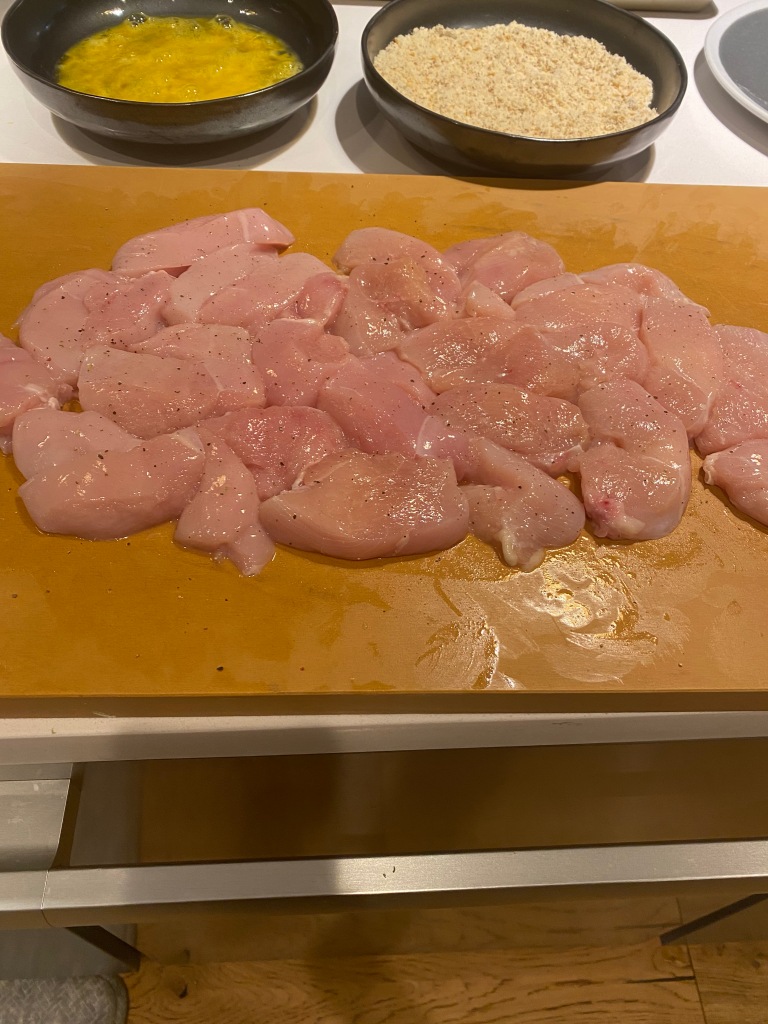
(5) Cut the chicken breasts into 1″ strips, pound to flatten, then add a pinch of salt and pepper
(6) Soak the chicken strips in the egg mixture
(7) Using one hand to grab the chicken, add to the crumb mixture and coat using the other hand. If you use both hands both your egg mixture and breadcrumb mixture will be a mess.
(8) Flip and then put aside
(9) Get one of your kids to help do the rest
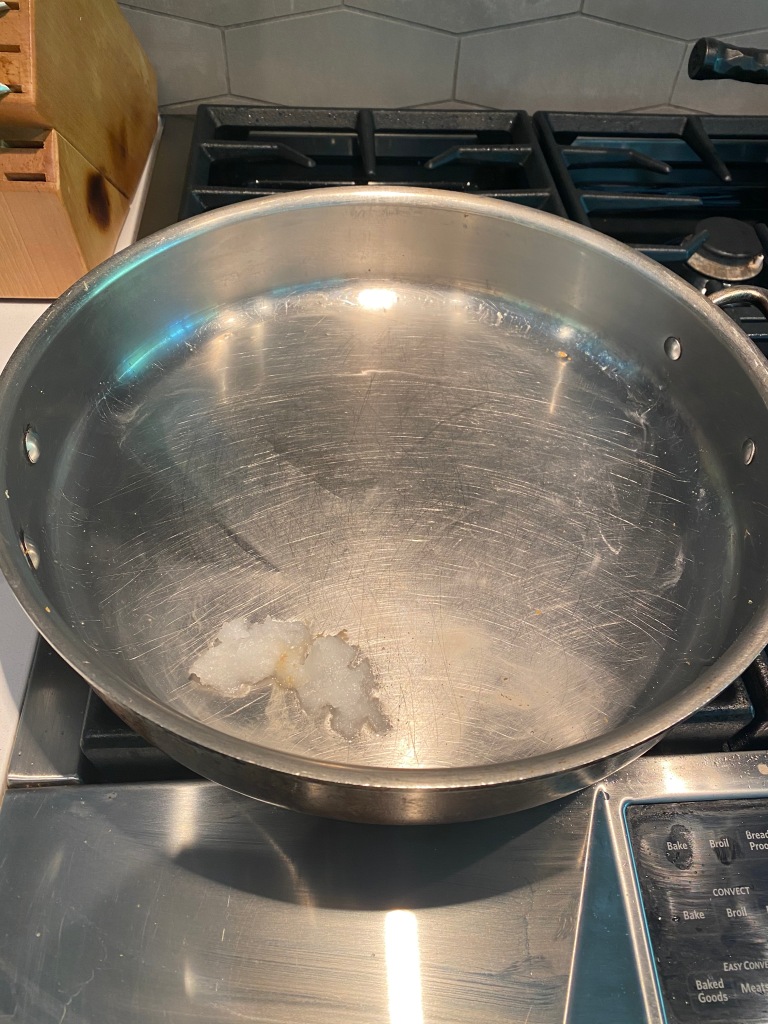
(10) Add the oil to a skillet and turn to medium-high heat (my oil is slightly darker because I strain and re-use after each cook)
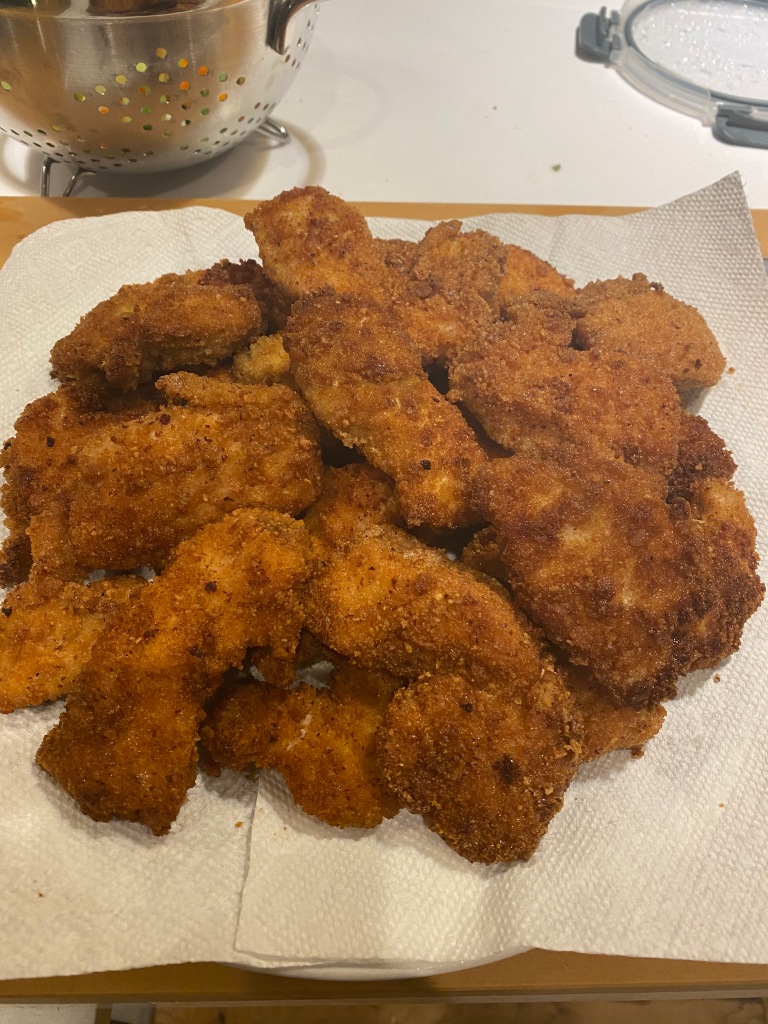
(12) Add the chicken
(13) Cook for about 4 minutes or until golden brown, then flip and cook for another 4 minutes, remove and put on a plate with paper towel. Let rest for 5 minutes to allow the oil to run off and allow the chicken to cool.
Happy Sunday. I hope everyone has been able to find some time to rest and relax.
While I love lazy Sundays, it also means meal prep for Team Harrison. This week is particularly unique, because it’s the first time we are integrating our new diet with the kids meals. This means we will be trying to remove diary, gluten, nuts, and animal protein as much as possible. This doesn’t mean we are going to force the kids to follow some strict diet, but rather change the foods we put in front of them and see how it goes. I thought I had convinced Scout that Hemp milk was delicious, but she said it was gross so I bought her regular grass fed, organic Whole Milk. Remember, this is a journey, so nothing is going to happen overnight.
For the first half of the week, I am preparing Lettuce Wraps, Vegan Lasagna, Kale and White Bean Soup, Pesto Chickpea Pasta, and some Greensbury Organic Free Range Chicken tenders with gluten free crust.
A few people reached out and asked me if I wouldn’t mind sharing some of the recipes, so today I’ll share the Lettuce Wraps.
This recipe is derived is from Longeve, the company where I buy my plant based protein crumbles. Thus far, I’ve only used this product for the Lettuce Wraps and Vegan Lasagna, but I am really impressed at the quality and taste of their product. I’ve modified the recipe to fit my nutritional needs, but you can find the original recipe here.
FILLING:
1 1/2 cups of Longeve crumbles
1/4 cup of coconut aminos
2 tsp of toasted sesame oil
1 tbsp of sunflower butter
2 tsp of ginger, fresh grated
1 tsp of sriracha
1 cup of mushrooms (for my diet I use shiitake or maitake), finely chopped
1 shallot, diced
2 tbsp of coconut oil
2 tsp of garlic, chopped
1/2 cup of cilantro, chopped
1 cup of carrots, finely chopped
1/2 cup of scallions, sliced
14 oz can of bamboo shoots, drained and chopped
Sea salt and black pepper to taste
1 head of Bibb lettuce, separated for wraps
1 tbsp of sesame seeds toasted
1 cup of mung bean sprouts
SAUCE:
1/4 cup of coconut aminos
1 tsp toasted sesame oil
1 tsp rice wine vinegar
PREPARATION:
(1) Prepare the Longeve crumbles by adding 3/4 cup of hot water and let sit for 5 minutes
(2) Whisk the coconut aminos, sesame oil, rice wine vinegar, sunflower butter, grated ginger and sriracha until smooth and put aside for later
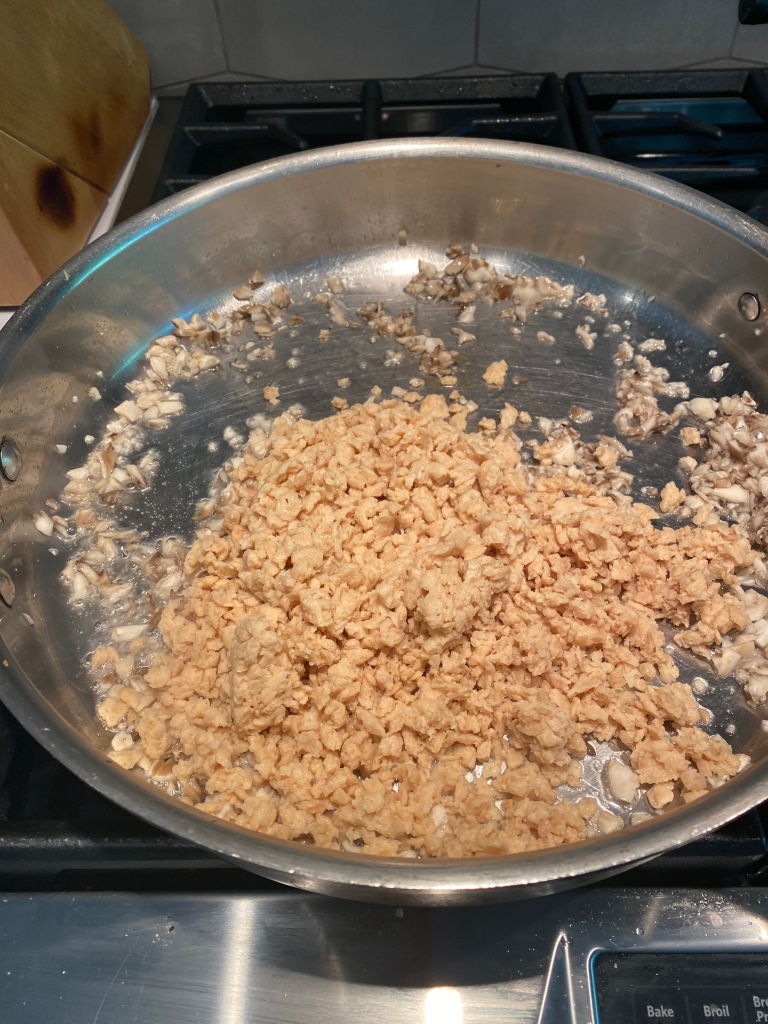
(3) Heat the coconut oil to in a large skillet over medium to high heat.
(4) Add garlic
(5) Add mushrooms
(6) Add Longeve crumbles and cook for 3-4 minutes, stirring frequently
(7) Add shallots and lower heat to medium and cook for 3-4 minutes more, while continuing to stir
(8) Add garlic, carrot, scallions, and bamboo shoots and cook for 2-3 minutes more, stirring occassionally
(9) Add Cilantro
(9) Add the prepared sauce mixture to the skillet and stir to combine all the ingredients. Continue cooking for another 2-3 minutes
(10) Remove from heat, salt and pepper to taste
(11) Place two spoonfuls of the cooked mixture into the Bibb Lettuce leaf. Drizzle some sauce and top with bean sprouts, scallions and toasted sesame seeds.
I hope everybody had a good and productive week. I know for me, it was a hard one. I completed my Prolon fast and successful lost 10 lbs in six days. It just goes to show (1) how much crap I put into my body while in Cape Cod and (2) how amazing the human body is at detoxing and cleansing if you give it the chance.
Today, I wanted to touch on the simplest form of movement that I think is one of the easiest and most beneficial activities to add to your daily routine – walking. Did you know that the American Heart Association (where my wife Angie worked for 16 years) recommends a minimum 150 minutes of moderate intensity aerobic activity every week with a goal of 300 minutes each week? For me that’s 6 days of trail walking for 50 minutes.
Walking is amazing, easy form of activity that humans have been doing since the beginning of time.
If you are currently following a Paleo or Keto diet, did you know that our ancestors walked an average of 5-7 miles every day? They were constantly on the move.
Walking also gives you time to think and reflect. I am very fortunate that we live on a street that has access to the Barton Creek Greenbelt. This affords me miles and miles of wilderness trails with uneven terrain and beautiful views. More importantly, I can take my dog Ziggy and let her off the leash so she gets her daily exercise. Some days, I stop and find somewhere to sit and meditate. It is very important for us to connect with nature. We all need to smell, hear and experience nature for our bodies to be in harmony.
My brother-in-law, Tony Dorsett always mentions that the healthiest old people in his lake community are the ones he sees walking every morning.
When I worked at AOL, it was very common to have walking work meetings. Everyone would meet and walk across the campus and discuss business while getting some fresh air and exercise.
Now in the time of Covid, it’s important to social distance, so perhaps meeting someone new and going for a walk outdoors is a way to connect.
No matter what your goals might be, adding a daily walk can only help. It provides aerobic exercise, fresh air and time to clear your head.
The single most important thing to do when you want to eat healthy is to prepare your own food.
When I do research and go to the Supermarket or Coop to look at plant-based foods, I am very shocked at the amount of ingredients that are added to most of the products from Impossible Burgers, to Beyond Meat and all the various meat and cheese alternatives.
To get started, let me share that my current focus is an Ayurvedic diet aimed at overall health and wellness, with a focus on reducing inflammation and reversing some coronary calcium buildup in my left anterior descending artery (LAD or Widowmaker). The inflammation in my body is mainly due to three major injuries in the Army which left me with a Service Disability rating of 30% and no cartilage in my right hip. The mild coronary artery disease is part genetics, part diet, and part lifestyle, but as I approach 50 I am more committed than ever to eliminate the plaque through science and dietary changes.
This means I am focusing on a diet high in fruits and vegetables with no four legged animals and no birds to include eggs. Additionally, I will be eliminating all nightshades (which I actually haven’t eaten in years) and while I am allowed limited fish, I will not be consuming shellfish (my favorite) nor will I be eating tuna, swordfish or catfish. Furthermore, my diet does NOT include nuts. While I am permitted to eat seeds – sunflower, flax, pumpkin, hemp – I am not allowed to consume nuts, nut milks, or nut products. Lastly, there is NO gluten. This includes wheat, rye, barley and oats. However, I can consumer long grain rice, quinoa, millet, and amaranth. I was very encouraged when I reorganized my pantry and discovered that I already had most of the approved grains in grain and flour form.
The reason I thought it was important to share my current dietary focus, is because when you go to the market or health food store and start to look at the back of the packaging for most plant-based alternatives for meat and cheese, the majority of these items contain gluten, nuts and/or soy. That’s pretty unbelievable, here I thought I was going to commit to being more planted based and I’d simply be able to go to the “healthy” section of the store and grab something from one of the new popular alternative brands like Beyond Meat or Impossible Burger. Unfortunately, that’s not going to work for me.
The good news is that it re-enforces the topic of today’s post – make your own food. The only way to truly know what you are eating and how it works for your body is to understand the process by which the food was created and what raw ingredients are assembled to get the final product.
The reason I picked these two items was driven based upon what I wanted to eat next week – Adzuki Bean Tempeh stir-fried over mixed vegetables (next week I might try fermenting my own Kimchi) and Vegan Lasagna.
When I was in the market yesterday, I noticed the first ingredient in almost all the Tempeh was “vital gluten” or “vital wheat,” neither which I want to consume. Secondarily, most Tempeh is based on soy and while I am not technically avoiding soy, I am definitely trying to limit my exposure.
Dr. Nibodhi had actually mentioned that the local Whole Foods in Austin has one of the best Adzuki Bean Tempeh his ever eaten – so that’s what inspired my desire to make my own. I’ll let you know in a day or so how it came out.
As for the Sunflower/Pumpkin Seed Ricotti this is also a first attempt, but it’s currently sitting on the counter in a Mason jar with the probiotic, himalayan sea salt and some coconut milk. Again, I’ll check back later.
Thanks for your time today, and remember, the best way to watch what you eat is to make your own food.
As we continue our discussion of healthy living, it’s very important to focus on drinking water.
At the most basic level, drink more water.
When I was at West Point, the number one thing were told was “drink water new cadet!” And that saying has served me well throughout my life.
In terms of your health, one of the easiest habit changes to focus on is water consumption. Simply start by waking up and having a glass of room temperature water with squeezed lemon juice. The concept of consuming temperate water when waking is embraced by Ayurvedic and Chinese medicine. In both cases, this first glass of water helps stimulate the villi in your intestine to help move cellular debris and other waste out of your body.
But water has lots of other benefits to include hydration, clear skin, boosting immunity, and helping your kidneys. To learn more, check out 10 Reasons Why You Should Drink More Water
The other thing that is very important to consider is the quality of the water you drink. While a lot of people love their tap water, they need to be cautious about the added chemicals like chlorine and fluoride that are normally added to municipalities.
I am currently shopping for a new in home system – either an Apex Water Filtration System or something more like a Berkey. I think the Apex is more convenient but it’s also a bit more of a burden to install. I’ll let you know what I decided once I hear back from a friend.
Okay, so for today, lets focus on drinking a glass of water when we wake up. Then at least one glass with each meal and ideally a total of about 10 glass or 2.5-3 liters per day.
I’ll leave you with a few quick videos from last night’s meal prep.